Why Cantex ?

Why Cantex ?

Their material is UV-stabilized for weathering strength in the changing climate of Northern Ohio. It also machines and drills consistently. The dielectric constant is the same from piece to piece, and the Cantex compound resists chalking. I've filled a dumpster with look-alike parts that failed to survive the coiling process at some point.

See http://www.cantexinc.com for specifications.

The information presented here is accurate and true to the best of the author's knowledge. All recommendations and statements are made without guarantee on the part of the author. The author disclaims any liability in connection with the use of this information.

Monday, June 4, 2018

The head stock and drive motor are lined up and ready for winding. That 14" section from the first slide adds the extra length for winding at the tube base. Now we need the rubber hammer for end-to-end alignment.
Both ends of the 10' tube section are marked every 60реж. These indicate the centers for Dynaflex 230 adhesive strips (6) which will secure the wire windings on the tube. It's available at The Home Depot. Although sold as a window sealant, the all-weather characteristics of the '230 make it ideal for this application. See the manufacturer's web site for usages and safety data; http://www.dap.com/dap-products-ph/dynaflex-230-premium-indooroutdoor-sealant/
Use 3/4 to 1 inch spacing for the sealant strip width. Blue painter's tape is used to set the space. Use your fingers cover the gap with a very thin coating of sealant. Disposable latex gloves come in handy for this job. 
Allow the goop to set up for at least 4 hours before removing the tape. These strips will secure the wire in position by forming small landing pads that stay flexible for a long time. And it's inexpensive.

The new 6" flange is mounted to the original sheave. The 14" tube section on the right will serve as the connector between the head stock and the coil form. It's cut from a junk piece of schedule 80
tube. Normally it would be glued to the flange socket, but not in the case of 6" tubing. 
Both the socket seat and the end insert are coated with automatic transmission fluid. The ATF compound has tremendous film strength, and keeps the insert from seizing in the socket seat for quick disassembly.  Final alignment of the fixture involves using a rubber hammer, so glue is ruled out.

The blue painter's tape shown here defines the channel for the Dab adhesive. Chalk lines are helpful for siting the tape position but are not necessary. The glue is applied by hand for a thin coating along the entire length of the tube. Wait at least three hours before removing the tape. The wire will find a permanent seat on the sealant immediately as winding proceeds. 
The operator's mobile station is in position. The on/off control line is behind the fixture so as not to be run over by the transport wheels. There is no brake on the motor, so rotation will continue for 2 to
3 seconds after the power is turned off. The control switch can be seen just to the left of the wire spool.

Wednesday, May 16, 2018

The Ugly Balun is attached to the dipole. It's wound with RG6/U.


Wednesday, June 28, 2017

The 20 footer goes together


Monday, June 26, 2017

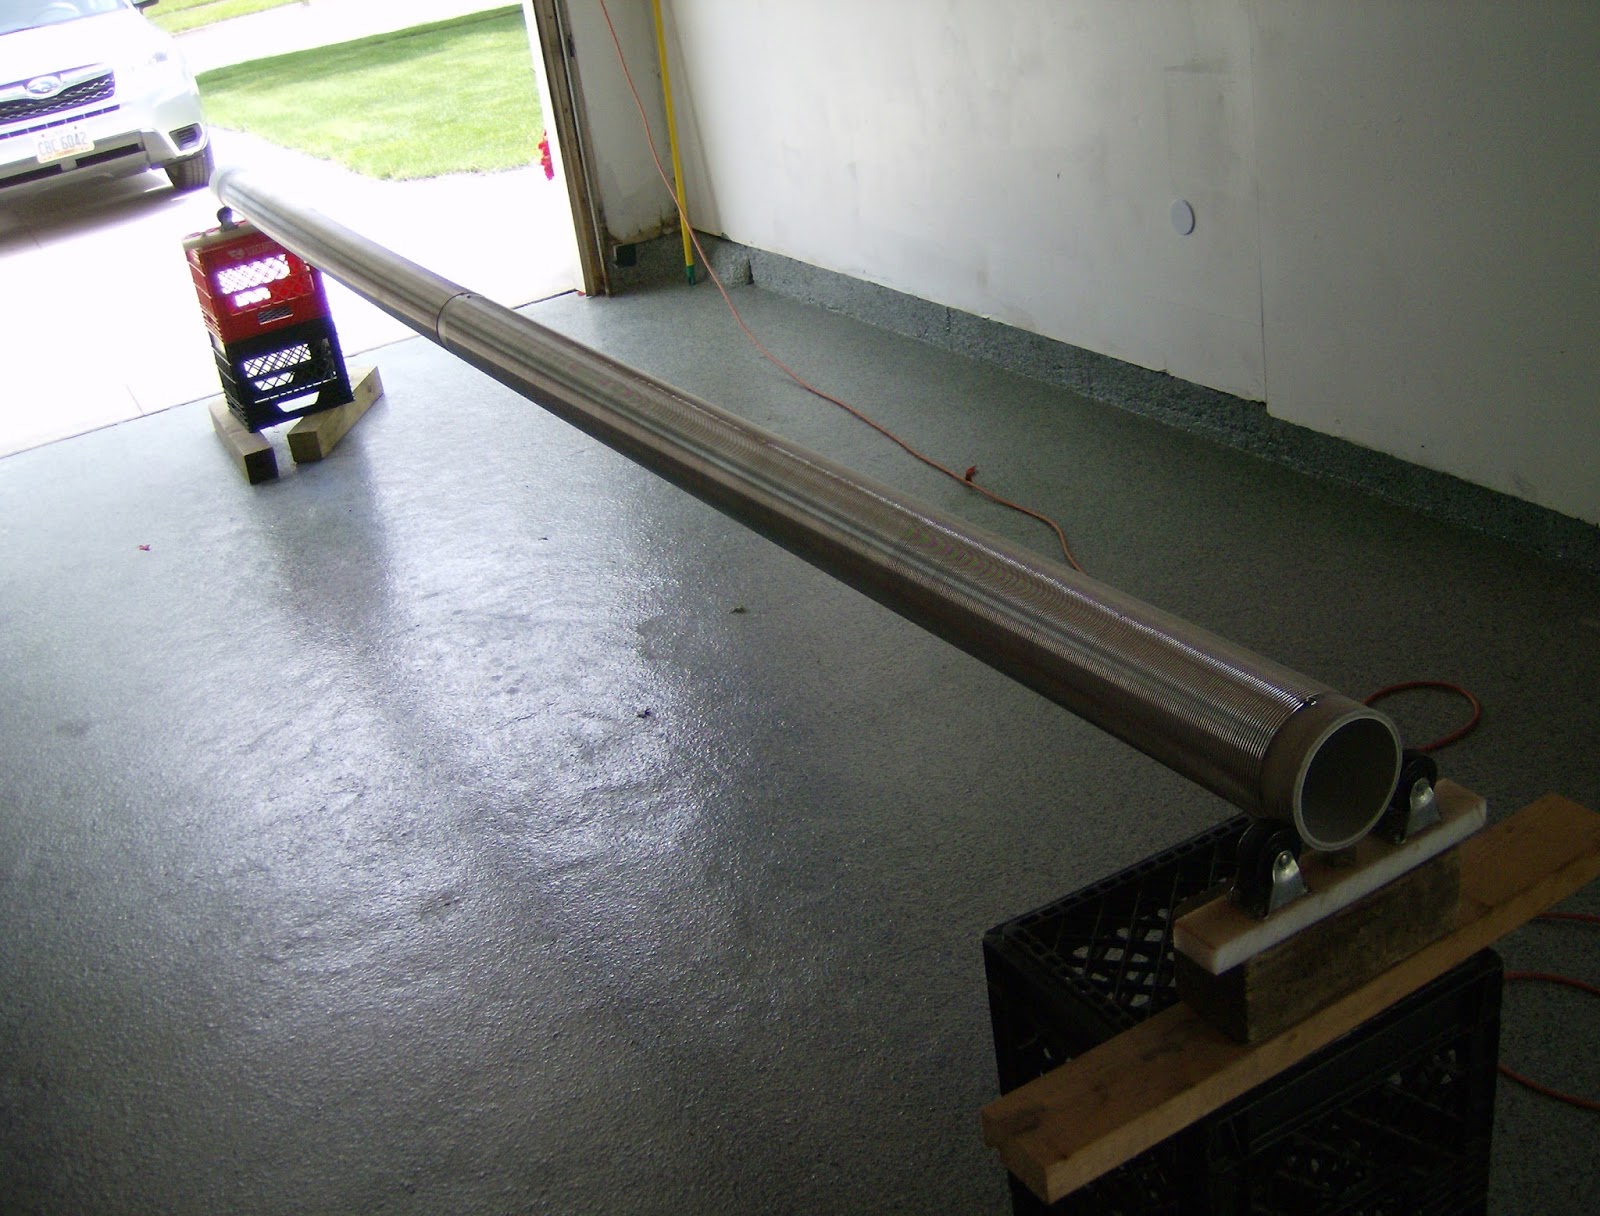
The new schedule 40, 4 inch, 20 foot section arrives from Mars Electric.

Getting the piece off the truck and carrying it into my garage, I learn one thing immediately;
it's too big for me to handle.

The first thing to do is to trim it down to 15 feet.


The bell end of the tube is resting on the idler roll in the background. The cut end is in the foreground
and will be fitted with a Cantex 4" coupler, P/N 6141632.

The coupler has perfectly trimmed edges and with the face of the headstock fitting the two edges  form a channel for the headstock support wheels. Now there is no travel of the tube in the fixture.

Next, the A52EA42 will get all taped up in preparation for applying the Dap Dynaflex 230 (clear)
caulking compound. The blue painter's tape is used to make 3/4" channels every 60 degrees of rotation, or 6 channels, on the entire length of the tube. The Dap material goes on white and is spread on the channels with the fingers to form a thin coating.


  When it drys to a clear finish, it's time to peel off the tape.


Four holes are drilled next; two for each half of the dipole. A one inch space is left in the center
for mounting the coaxial cable retaining clamp.


Above, one half of the winding job is complete. The aluminum .062" (1/16") wire goes on smoothly and the Dynaflex 230 holds it in place perfectly. Coiling time for the 82" section is about 3 hours.
The on/off switch is mounted just to the left of the wire spool. There are always frequent starts and stops, and this is a convenient place for the operator. Also notice the glasses on the seat behind the spool. These are 3.5 dioptre in strength, and are necessary to pinpoint the exact location of the wire
and the guide tool.

To end the job, we'll start the second half from the opposite end of the tube, close to the headstock.


Finally, we're done winding, and only the coaxial cable connection remain.


Standing next to the garage, the finished product. The vertical dipole has two coils each 82 inches
long. 779 feet of wire cover each half.


Note !

The XYL's plants must be protected at all costs !